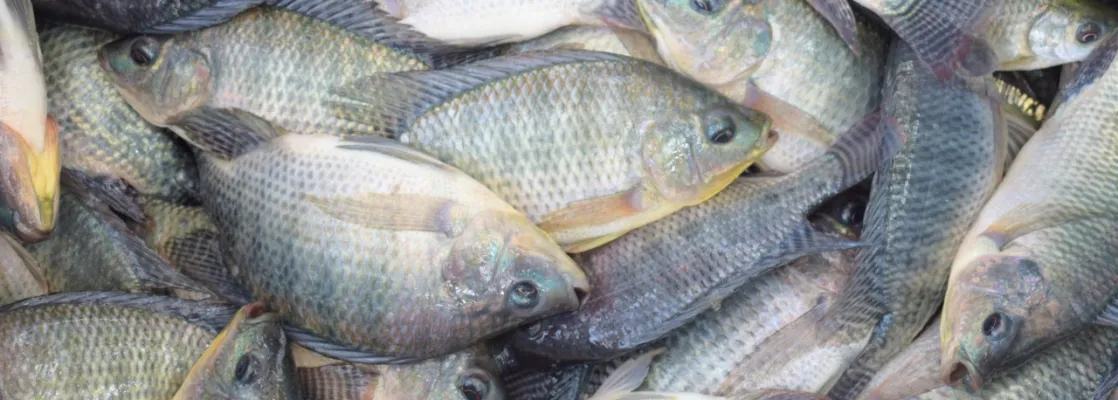
By knowing the proper methods of tilapia fish farming and practicing them correctly, it is easy to make a profit. If proper farming management is followed, each monosex tilapia fish can weigh 250-350 grams within 3-4 months, even at relatively high stocking densities. Due to its quick production in a short time, simple farming methods, and high market demand, farming this fish is highly profitable.
The key to success in monosex tilapia farming is to collect 100% healthy, strong, and high-quality male fry and rear them in the correct way. Special care must be taken, especially during the nursery stage.
Nursery Pond Selection
- A small-sized pond is ideal for nurseries. Typically, a pond of 20-25 decimals (800-1000 square meters) is suitable.
- The pond should be rectangular, free from flooding, and have sandy-loamy soil.
- The ideal water depth for a nursery pond is 3-4 feet. It is better not to have less depth than this.
- If there is sufficient sunlight on the pond, more natural food will be produced.
Nursery Pond Preparation
-
Completely remove the old water from the pond and dry the pond bottom well in the sun for 7-8 days. If there is excess mud at the bottom, it must be removed.
If complete removal of old water is not possible, reduce the water level as much as possible and apply rotenone powder at the rate of 30-40 grams per foot depth per decimal of the pond to eliminate all fish and unwanted aquatic organisms.
-
Mix two-thirds of the total required rotenone in water and spread it evenly throughout the pond. Make small balls by mixing the remaining one-third with a small amount of water and apply them evenly across the pond.
To ensure the complete removal of predatory fish, rotenone can also be applied to the pond bottom mud. This will kill any fish hiding in the mud.
Additionally, gas tablets or phostoxin tablets can be used to kill predatory fish.
-
Remove all aquatic plants and weeds from the bottom and banks of the pond. If necessary, repair the pond banks. If there are large trees on the banks, prune the branches to prevent leaves from falling into the pond and to ensure sufficient sunlight.
-
Two or three days after drying the pond and removing predatory and unwanted fish, apply lime at the rate of 1 kg per decimal.
Dissolve the lime in water and spread it evenly throughout the pond. Note: For user safety, apply the lime solution only after it cools down and use a mask or suitable cloth to cover your nose and mouth during application.
-
Three or four days after liming, fill the pond with water. It is best to use water from a deep tube well. If water is taken from rivers, canals, or other ponds, install a fine-mesh filter net at the entry point to prevent the entry of unwanted aquatic organisms.
-
After filling the pond with water (or 3-4 days after liming), apply fertilizers. Per decimal, apply 5 kg of organic fertilizer (rotted cow dung/compost), 100 grams of urea, 50 grams of TSP, and 25 grams of MOP (potash).
-
Five or six days after fertilization, the water color will turn greenish or light brown, indicating the presence of sufficient natural food (plankton). This is the time to release the fry.
The transparency of the water should be 8-12 inches due to plankton presence. Both plankton shortage and excess are harmful for fish farming.
-
Enclose the pond with a filter net around the perimeter to prevent snakes, frogs, and other unwanted animals from entering.
Stocking Fry in the Grow-Out Pond
Before releasing fry, the pond must be properly prepared. You can stock 150-250 tilapia fry and 15-30 fry of different carp species per decimal of pond area. In improved farming management, the stocking density can be increased further.
Here are three models for stocking fry:
| Species | Model 1 | Model 2 | Model 3 |
|---|---|---|---|
| Monosex Tilapia | 150 | 200 | 250 |
| Silver Carp | 5 | 5 | 4 |
| Bighead Carp | 4 | 3 | 3 |
| Catla | 2 | 2 | 1 |
| Rui | 6 | 4 | 2 |
| Mrigal/Kalibaush | 6 | 3 | 3 |
| Mirror Carp/Common Carp | 2 | 2 | 1 |
| Ghonia/Bata | 1 | 2 | 1 |
| Grass Carp | 1 | 1 | 0 |
| Sarputi | 3 | 3 | 0 |
| Total | 180 | 225 | 265 |
Some Key Points to Note:
- Release fry in the morning or evening when the temperature is lower.
- Before releasing the fry, acclimatize them to the pond water properly.
- Add salt at a concentration of 5 ppt (5 grams per liter) in the fry-carrying container and disinfect the fry by holding them there for 1-2 minutes.
- Once the water temperature in the pond and the container are equal, gently release the fry into a hapa (net cage) set in the pond. After about 1 hour, count and release only healthy and active fry into the pond. Weak fry should not be released.
- Immediately after stocking, apply salt at the rate of 500 grams per decimal throughout the pond.