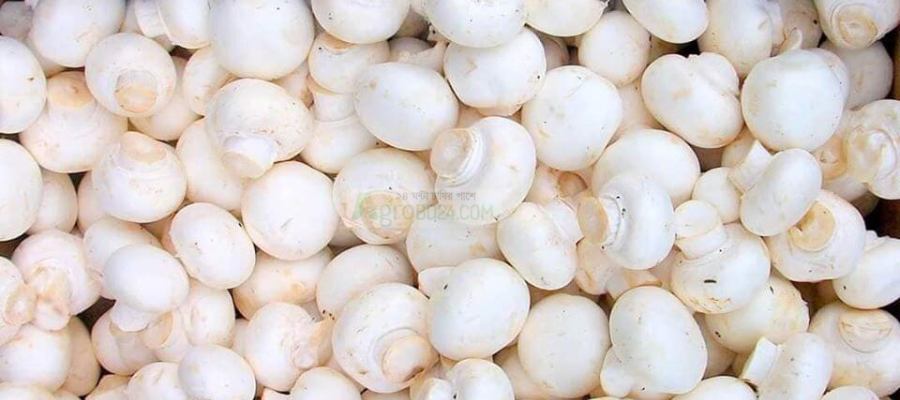
Mushrooms are highly nutritious food. They can address the challenge of maintaining a high-protein diet, as mushrooms are rich in protein. Additionally, mushrooms are easily digestible. Besides protein, it also contains abundant vitamins and minerals.
Selection of Mushroom Varieties for Cultivation
Various species of mushrooms are cultivated worldwide. However, for the climate of our country and for relatively easy home cultivation, oyster, milky, and paddy straw mushrooms are the most suitable. Winter is ideal for growing oyster mushrooms, whereas milky and paddy straw mushrooms are best cultivated after March, when the cold subsides.
Materials Required for Oyster Mushroom Cultivation
Primarily, three materials are needed: mushroom spawn (seeds), straw, and polythene bags.

Where to Find Mushroom Seeds and Materials
Mushroom spawn can be found in shops that sell vegetable seeds. Additionally, they are available at mushroom training centers and on various online shopping platforms.
Method of Mushroom Cultivation
Mushroom cultivation is not possible simply by soaking harvested paddy or wheat straw in water. The straw must be sterilized first, and there are two methods for doing this:
- By heat treatment
- By chemical treatment
Heat Treatment
- Submerge the cut straw in clean water for 10-12 hours.
- After soaking, drain the excess water by placing the straw in a basket for a short time.
- Place the damp straw in a container with a small amount of water, cover it with a lid, and heat it on fire until the straw at the top becomes hot enough that it is difficult to touch by hand.
- Remove the container from the heat and let the straw cool in the same container.
- Once cooled, mix 3 grams of fungicide (Bavistin) and 3 grams of insecticide (Hexa 50) thoroughly with the straw before sowing the spawn (seeds).
Chemical Treatment
- Dissolve 60 grams of lime and 10 grams of bleaching powder in an adequate amount of water.
- Submerge the cut straw in this solution for 18-24 hours.
- Afterward, drain the water from the straw by leaving it for another 12-24 hours.
- To check if the water has drained properly, take a handful of straw and squeeze it tightly. If moisture is felt but no water drips, the straw is ready. If water drips, allow more time for draining.
- Once drained, mix 3 grams of fungicide, 3 grams of insecticide, and 5 grams of lime (powdered) thoroughly with the straw, then sow the spawn (seeds).
- Combining paddy and wheat straw in a 1:1 ratio yields better results.
(Note: The sowing method for spawn is described below.)
Spawn Sowing Method
- Use 12-inch and 14-inch polythene rolls to create mushroom cultivation cylinders.
- Cut these polythene rolls into 20-inch and 22-inch lengths to form the cylinders.
- Since both ends of the polythene bags remain open, tie one end securely and make 40-50 holes using a needle.
- Place 2-3 inches of straw inside the bag, press it firmly, then spread some spawn (seeds) over it.
- Repeat the layering process—straw followed by spawn—until the bag is filled in 5-6 layers.
- Tie the mouth of the bag tightly so it forms a cylinder-like shape.
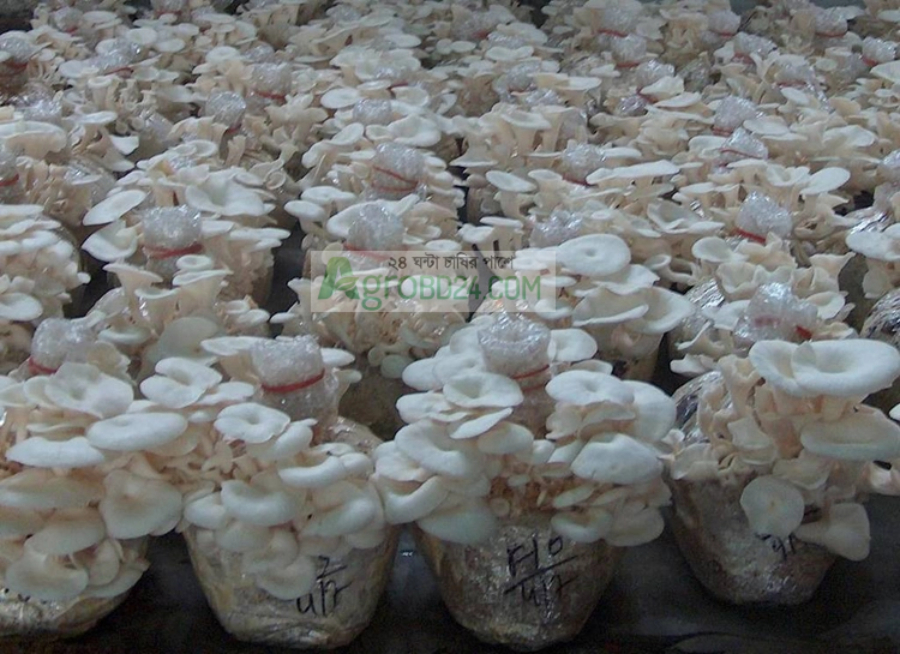
- Keep this cylinder in the mushroom cultivation room.
- After 12-16 days, the cylinder will be fully covered with white mycelium.
- At this stage, cut eight sections in an “X” shape (1.5 x 1.5 inches) on the surface of the cylinder to allow mushroom buds to emerge.
- 8-12 days after cutting, mushroom buds will start to appear. Spray clean water twice daily.
Harvesting Mushrooms
- Within 3-5 days of water spraying, the mushrooms will be ready for harvest.
- To achieve better yields, wait until the mushrooms are fully mature before harvesting.
Why You Might Fail at Mushroom Cultivation
- Lack of necessary training in building an appropriate growing environment.
- Inability to select high-quality spawn (seeds).
- Not obtaining good quality spawn in time or insufficient availability of spawn.
- Lack of proper care and maintenance.